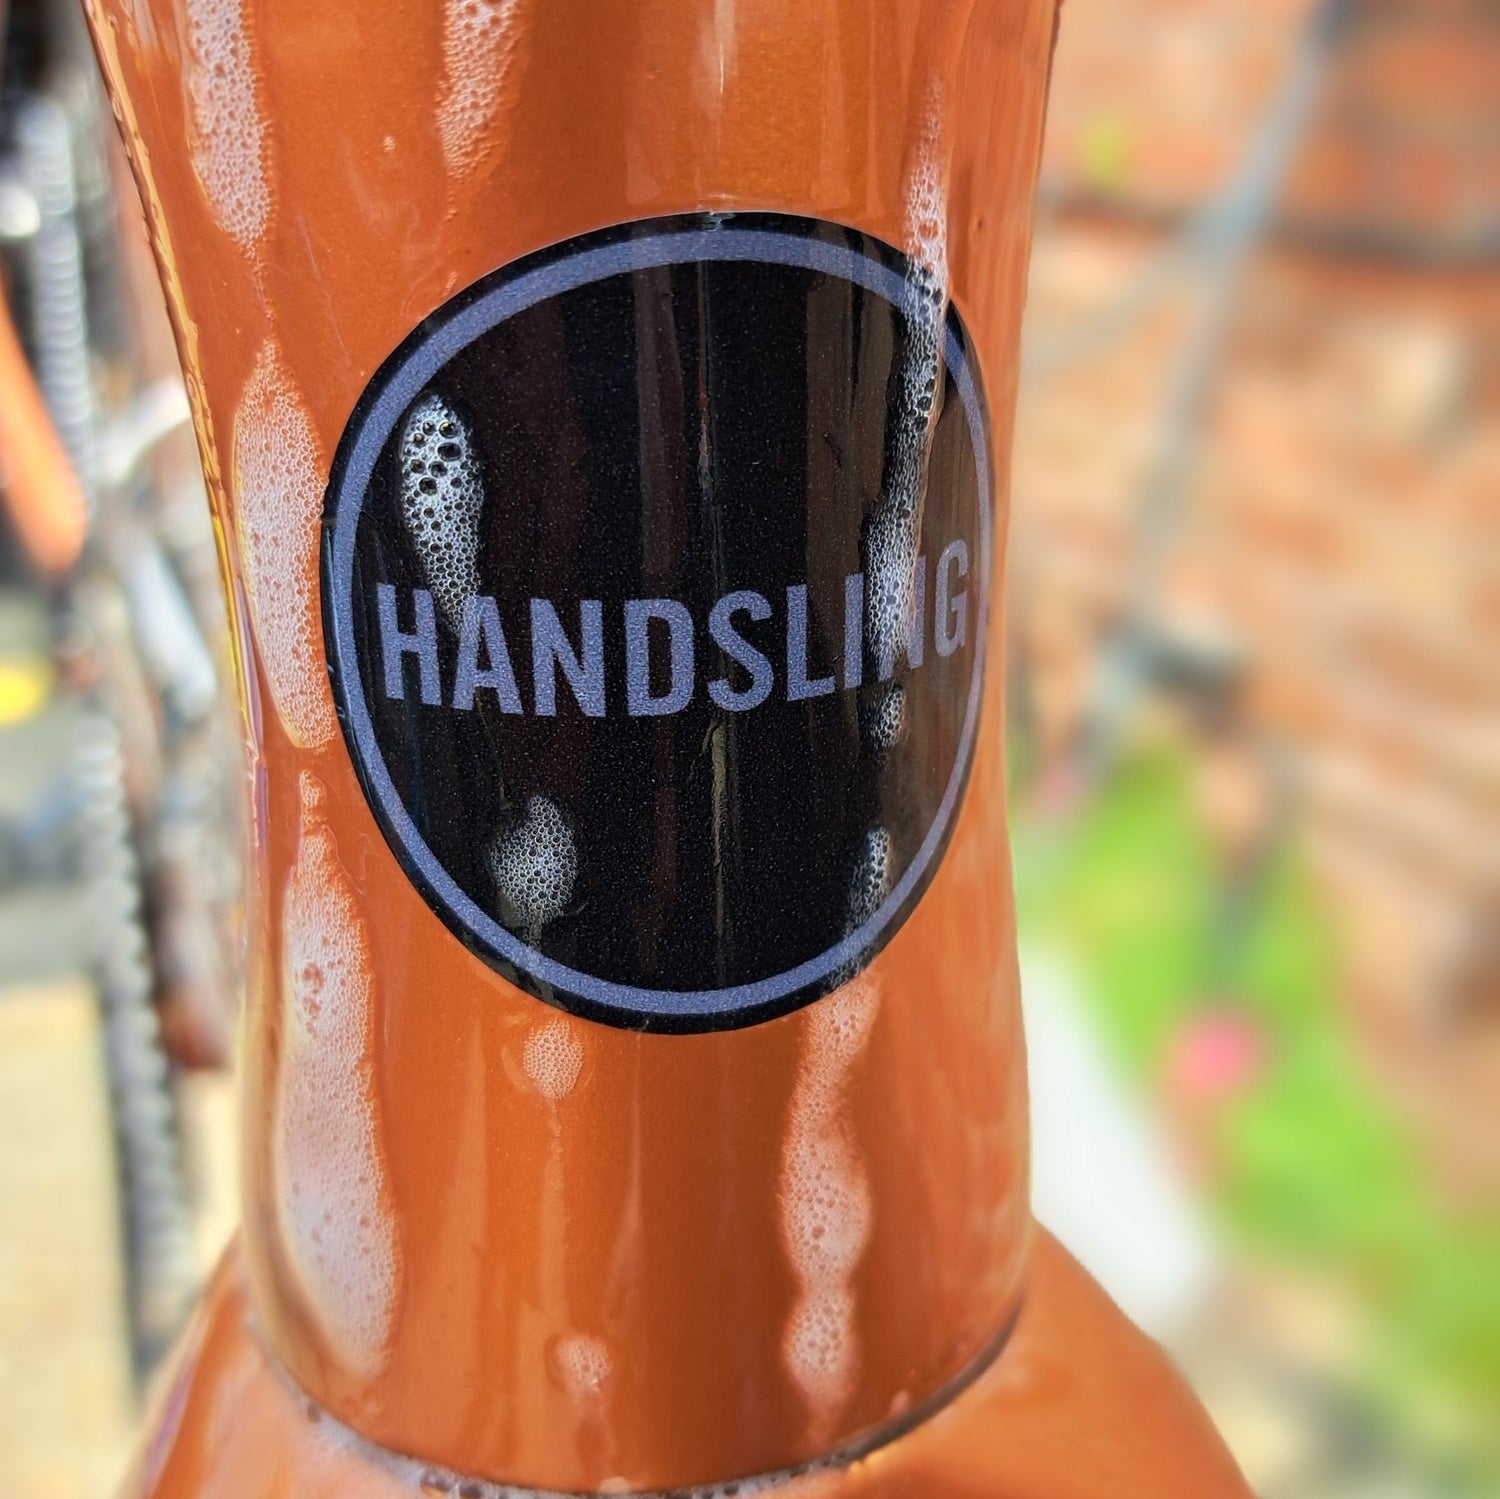
Congratulations on your new bike! You’ve spent hours fine-tuning every detail, from selecting the perfect gruppo and crank length to choosing that stunning Handsling paint scheme that turns heads at every café stop. But remember: with a great bike comes great responsibility.

A clean bike not only looks amazing but also rides better, lasts longer, and helps you spot any issues before they turn into costly repairs. Regular cleaning is one of the simplest - yet most important - parts of bike maintenance. Here’s how to keep your Handsling road or gravel bike in top condition after every ride.
Why Cleaning Your Bike Matters
Even if you’re not confident tackling mechanical jobs, cleaning your bike is easy and rewarding. Dirt, dust, and grime accelerate wear on your drivetrain, bearings, and paintwork. A quick clean keeps your components running smoothly, preserves your investment, and ensures your next ride feels as good as your first.
Step 1: Set Up for Success
Start by getting your bike on a workstand. This keeps it stable, prevents scratches, and allows you to remove the wheels easily. Nothing’s worse than watching your pride and joy topple over mid-clean.
With the wheels removed, use a chain keeper to hold the chain in place. If you don’t have one, your thru-axle will do. Don’t forget to insert brake pad spacers to prevent your calipers from closing accidentally.

Step 2: Degrease the Drivetrain
Spray a bike-specific degreaser onto your chain, jockey wheels, sprockets, and chainrings. Rotate the cranks to distribute the degreaser evenly, then let it soak for a few minutes.
Waxed Chains
If you’re running a waxed chain, skip the degreaser. Instead, wipe it clean with a soft cloth and apply a small amount of drip wax if needed. For a deep clean, remove the chain and soak it in boiling water to strip old wax before reapplying fresh wax. Keeping two waxed chains - one on the bike, one in rotation - makes maintenance easy.
Step 3: Pre-Wash the Frame and Wheels
While the degreaser works, rinse the frame and wheels with water to remove loose dirt and grit. This is especially important after gravel or wet rides to prevent scratches. Then, spray the bike with a dedicated bike cleaner and let it sit for a few minutes to lift off any stubborn grime, such as sticky gel residue on the bars or frame.
Step 4: Scrub the Drivetrain
Use a stiff brush to work your way around the drivetrain, focusing on chain links, sprockets, and jockey wheels. Scrape off any built-up debris off the jockey wheels using a flat-edged tool if necessary. Clean both sides of the chainrings and cassette thoroughly - these areas collect the most grime.

Step 5: Wash the Frame and Fork
Grab a soft sponge or brush and clean the frame, fork, and cockpit. Pay extra attention to the underside of the bottom bracket and fork crown, where mud and grit often collect. If you spot any stubborn dirt, re-apply cleaner and work gently to avoid damaging your paintwork.
Step 6: Rinse and Dry
Rinse your bike thoroughly with a hose or low-pressure jet wash (avoid spraying directly into bearings). Then, dry the frame and components using a microfibre cloth. For hard-to-reach areas, or if you want a professional finish, use a bike-specific air dryer.
Step 7: Clean and Inspect the Wheels
Clean your tyres and rims carefully, checking for cuts, thorns, or debris embedded in the tread. For road tyres, look for any sharp flints or damage. Clean the hubs and spokes with a soft brush - a tricky but important step.

If your disc brakes have been squealing, spray both sides of the rotors with disc brake cleaner or isopropyl alcohol. If noise persists, lightly sand the rotor surface with fine sandpaper, then clean again. Finally, give the wheels a spin to check for any rim wobbles or bearing roughness.
Step 8: Polish and Protect
Once dry, apply a bike polish or protective wax to the frame to keep it looking fresh and to help repel dirt on future rides. Avoid getting any polish on brake calipers or rotors.
Step 9: Lube the Chain
Reinstall the wheels and re-lubricate the chain. Shift into the big chainring and large sprocket (cross-chain) position, then apply one drop of lubricant per link. Pedal the cranks about twenty rotations to work the lube in - then wipe off any excess with a clean rag.

Step 10: Ready for the Next Ride
Your Handsling is now spotless, smooth, and ready to roll. Regular cleaning takes just 15 minutes once you’ve got the routine down - and it will save you time and money in the long run. A clean bike not only performs better but also lets you spot early signs of wear, keeping you riding faster and longer.
Recommended Products
-
Assorted brushes, sponges and rags
-
Bike cleaner, don't use washing up liquid, choose a car or bike specific cleaner. Many options available from Muc-Off, Fenwicks, Peattys etc.
-
Chain Cleaner - choose an eco friendly one! It will require more work, but better for the environment, eg Green Oil chain degreaser or Effetto Mariposa's Alpine Extra
-
Lubricants I would recommend include, Effetto Mariposa Flower Power Wax or Tru Tension Alweather Lube
-
Isopropyl Alcohol (Disc Brake Cleaner)
Final Thoughts
Cleaning your bike might seem like a chore, but it’s one of the most satisfying rituals in cycling. Treat your Handsling with care, and it will reward you with smooth shifts, silent brakes, and that “new bike” feeling every ride.


Leave a comment
This site is protected by hCaptcha and the hCaptcha Privacy Policy and Terms of Service apply.